PanelProject
Adding an agent
The wizard takes you through ten steps. The draft stays in the browser tab, so you can stop and come back.
Step 1: Open the project
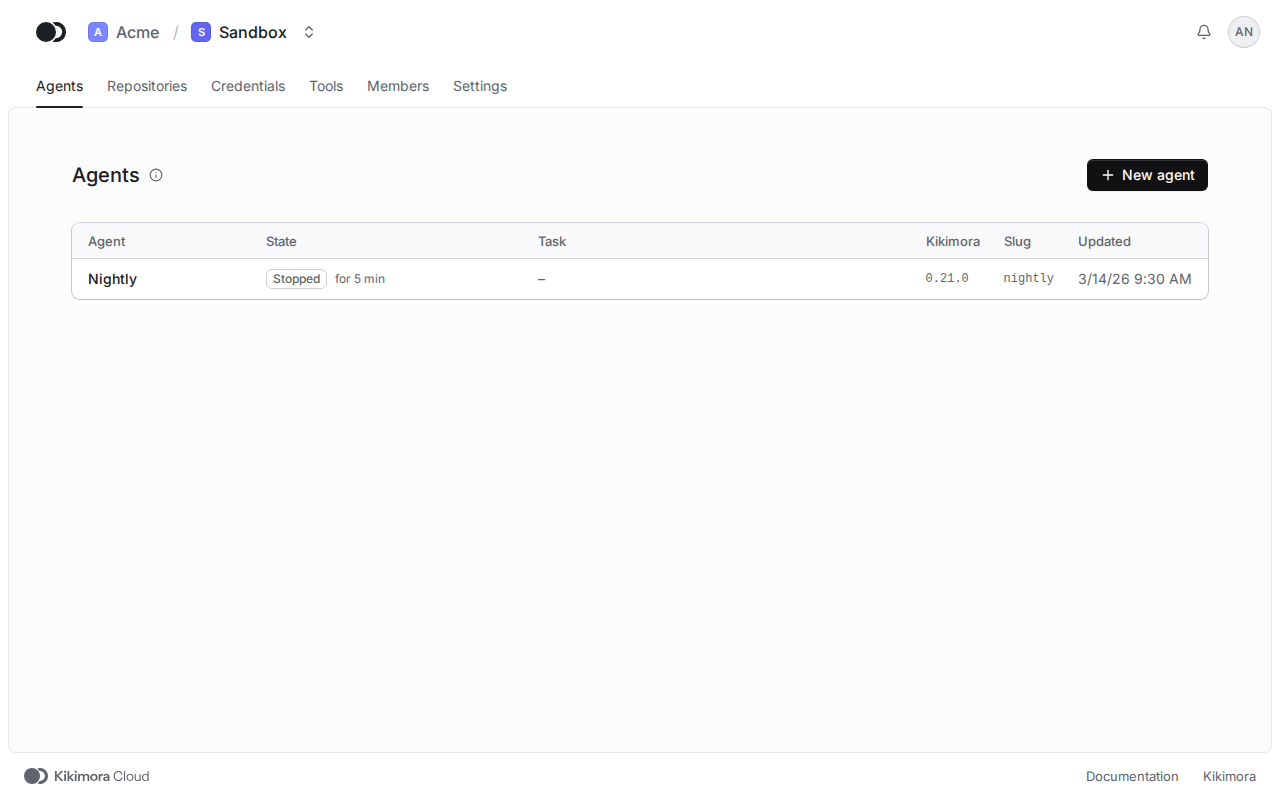
Pick the project in the list of projects, open the Agents tab and click New agent.
Step 2: Basics
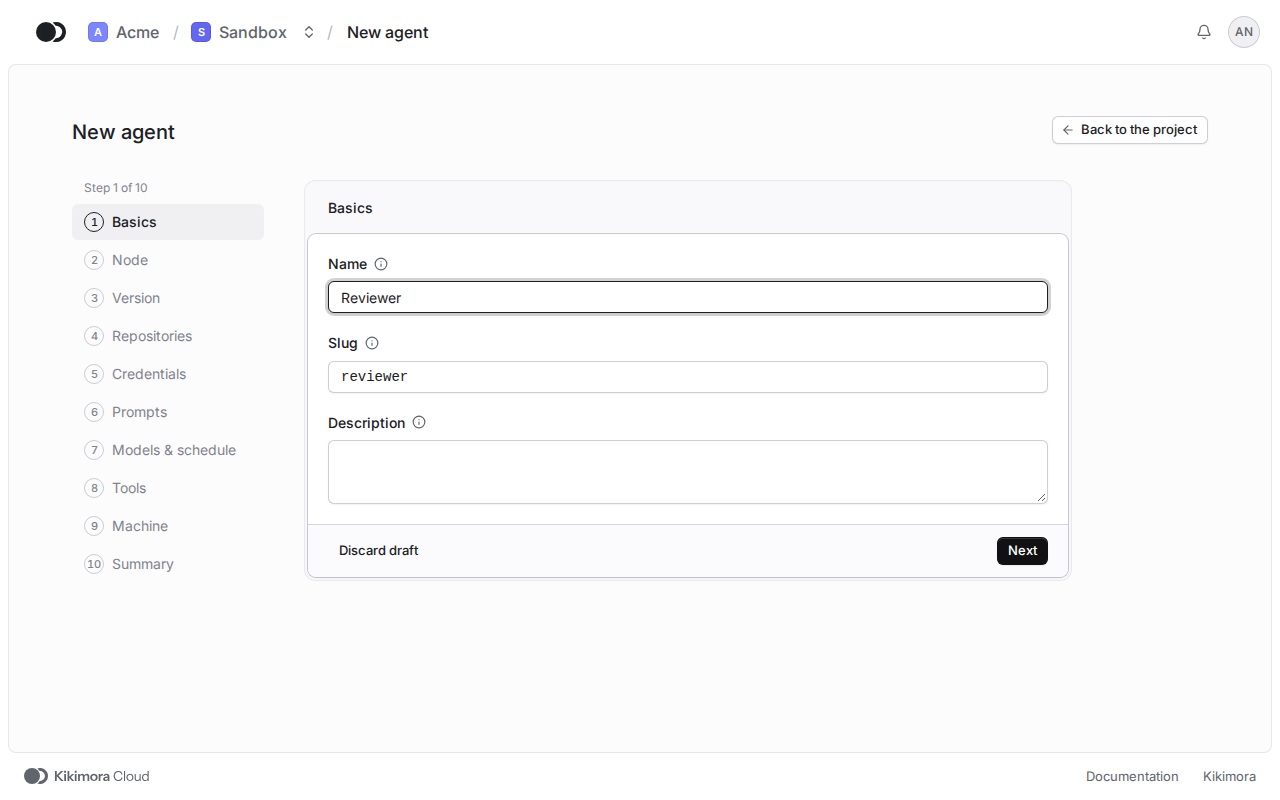
Type the name of the agent. The slug follows the name, and the description is optional. Click Next.
Step 3: Node
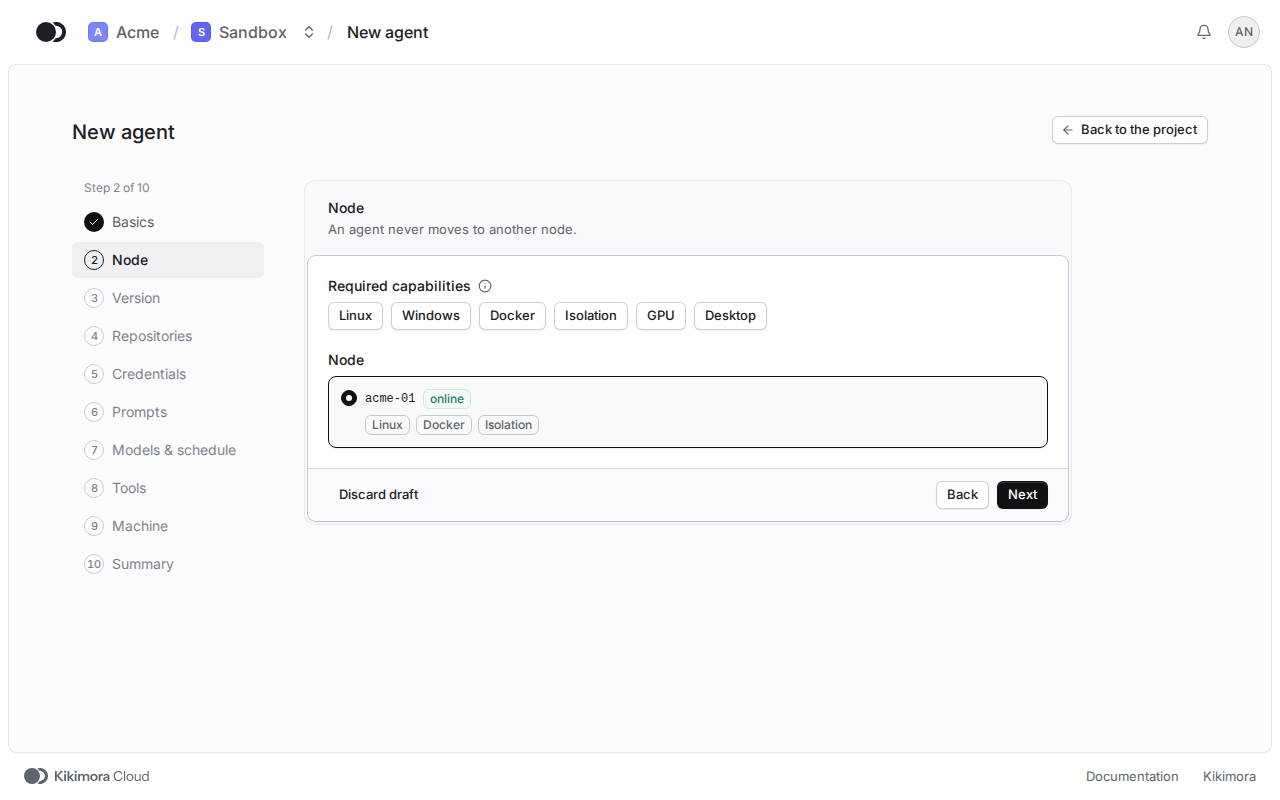
Pick the node the agent runs on. An agent never moves to another node.
Step 4: Version
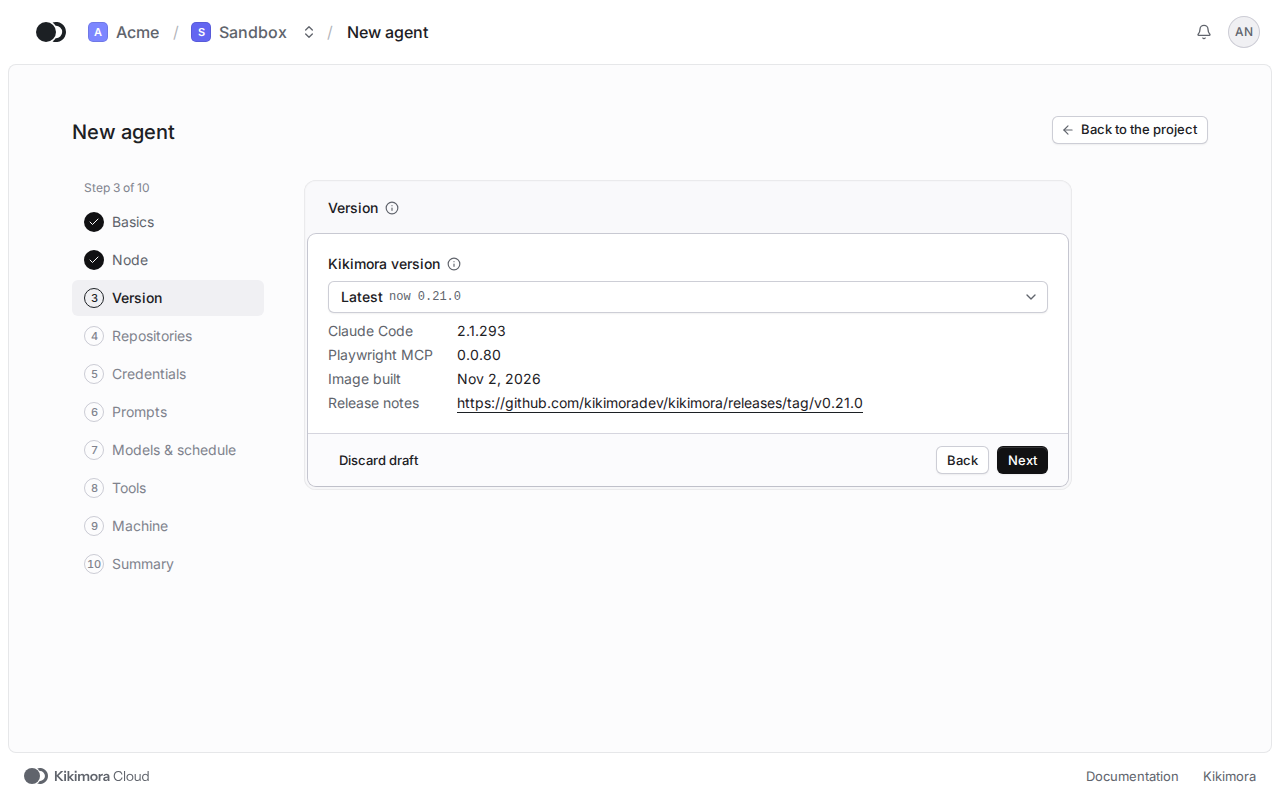
Pick the Kikimora release. On Latest, chosen from the start, the agent moves by itself, between sessions, to each release a platform administrator marks stable. A specific release pins the agent to it. You can change this later in the settings of the agent.
Step 5: Repositories
Select the repositories the agent works in. They can come from different providers: GitHub, GitLab and Bitbucket.
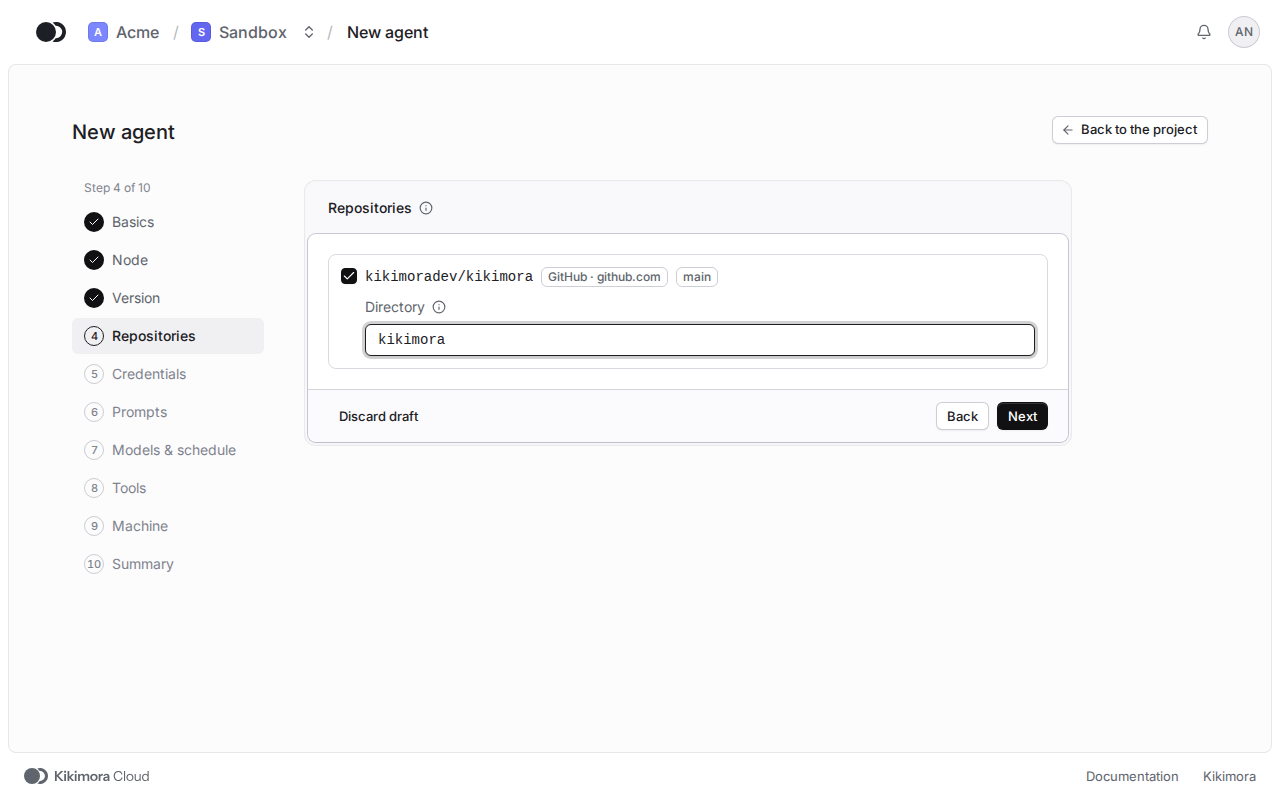
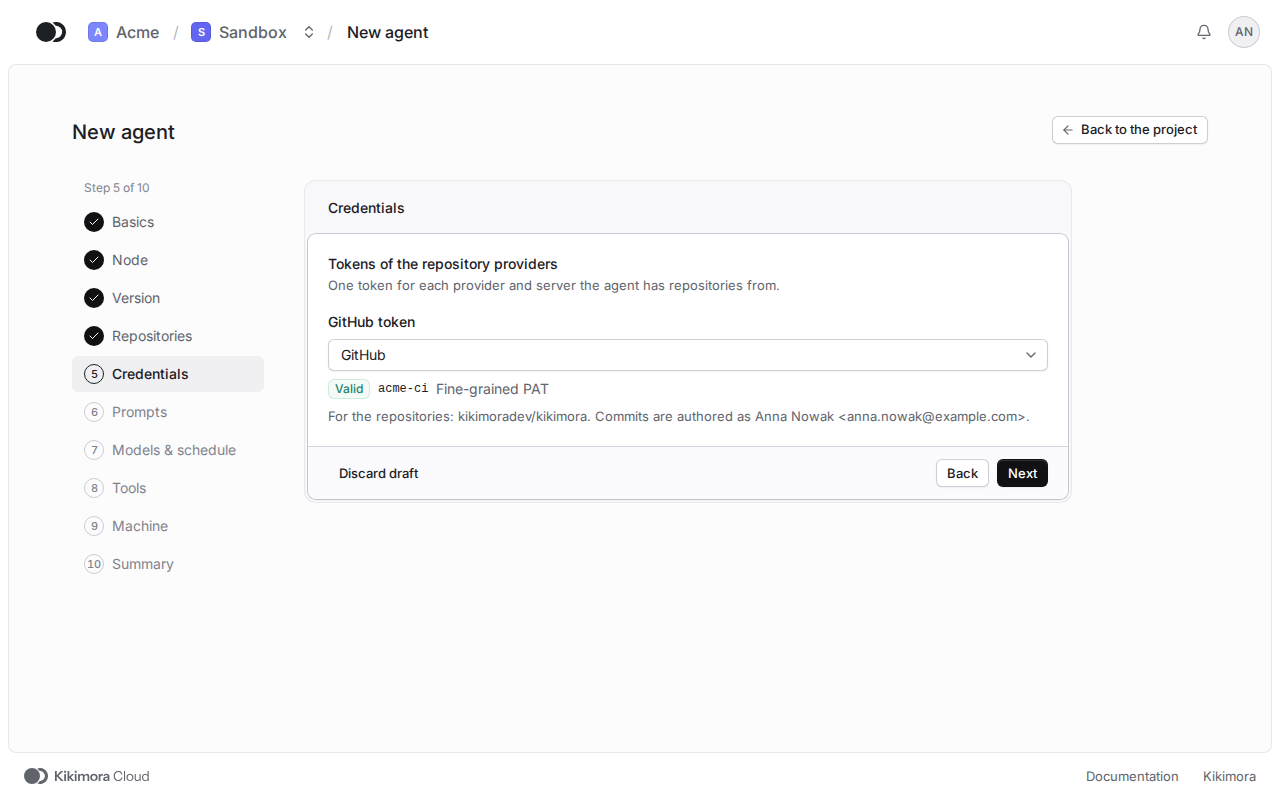
Step 6: Credentials
For each provider and server of the chosen repositories, pick the token the agent works with them through. Under the field you see the repositories of that token and the identity the agent signs its commits with. The agent takes its Claude account from the queue of the project.
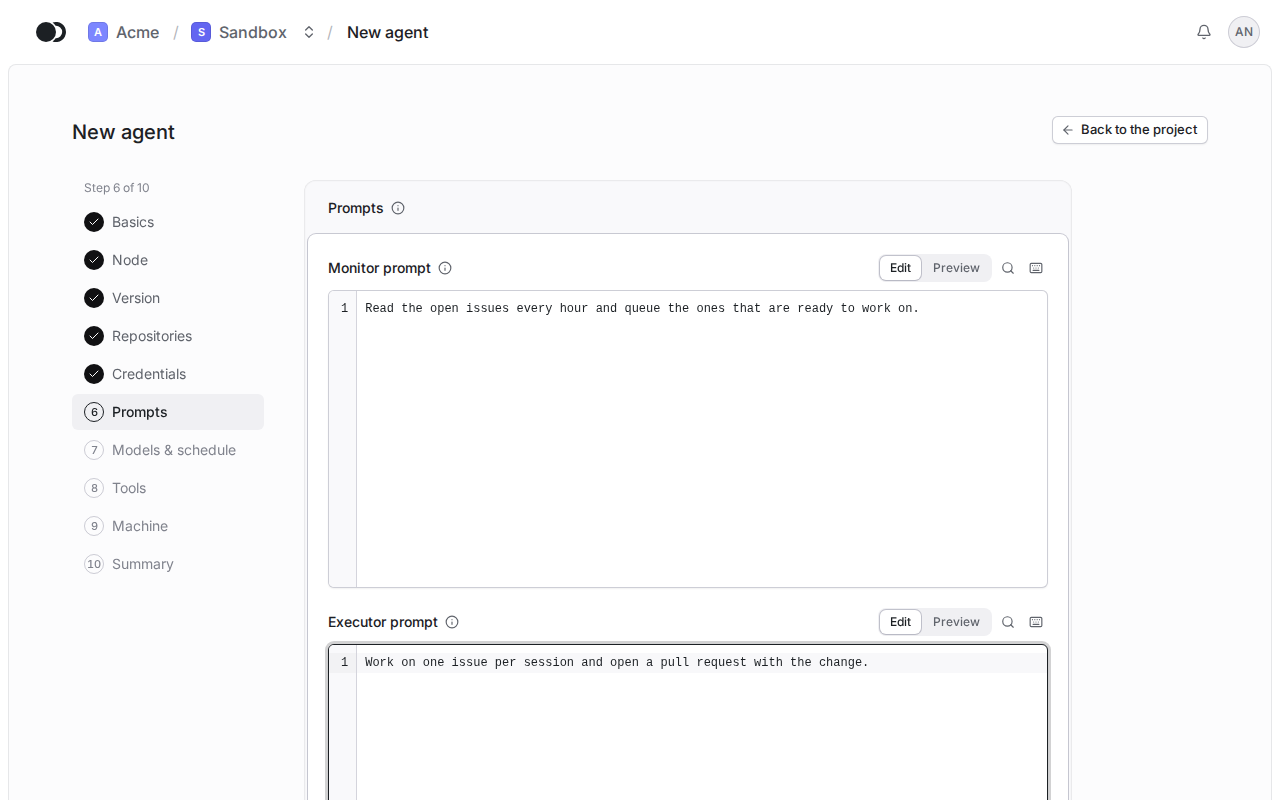
Step 7: Prompts
Write what the monitor looks for and how the executor works.
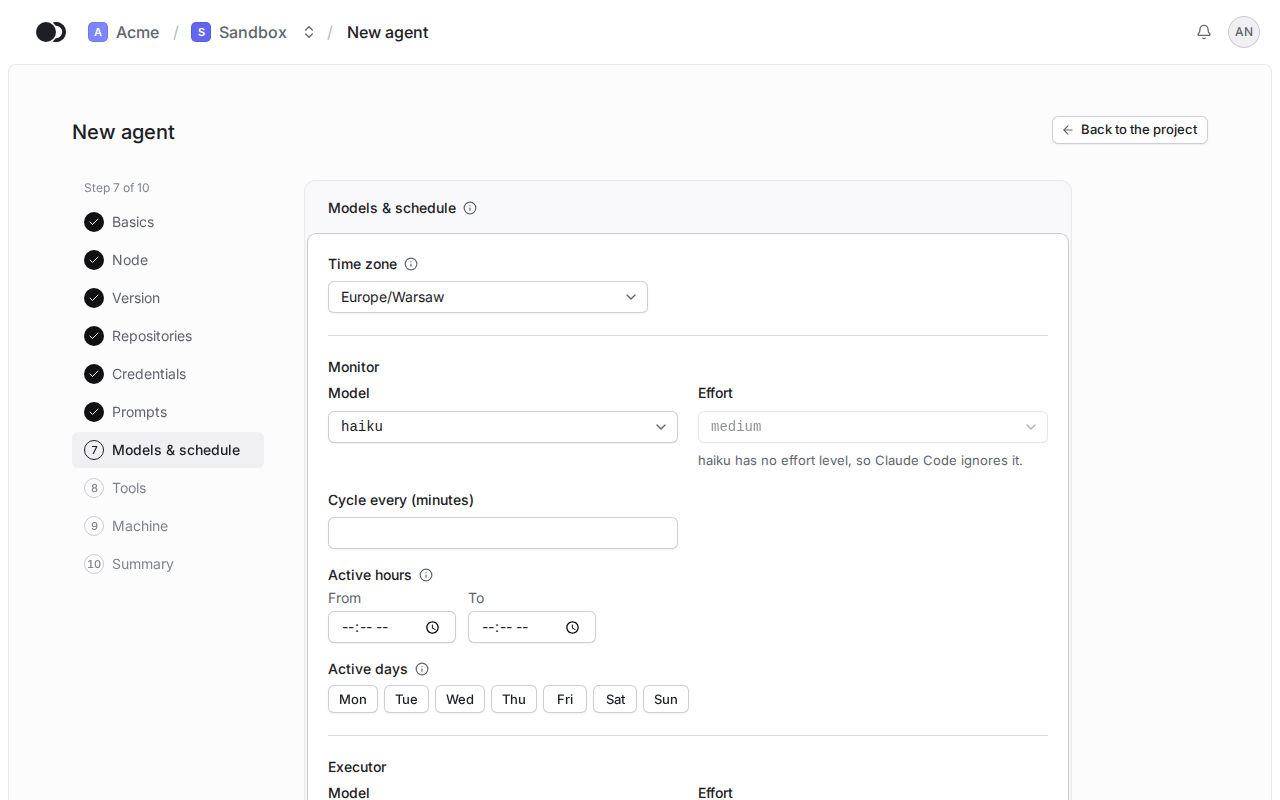
Step 8: Models & schedule
Everything here is optional: the time zone, the models, the monitor cycle and the active hours.
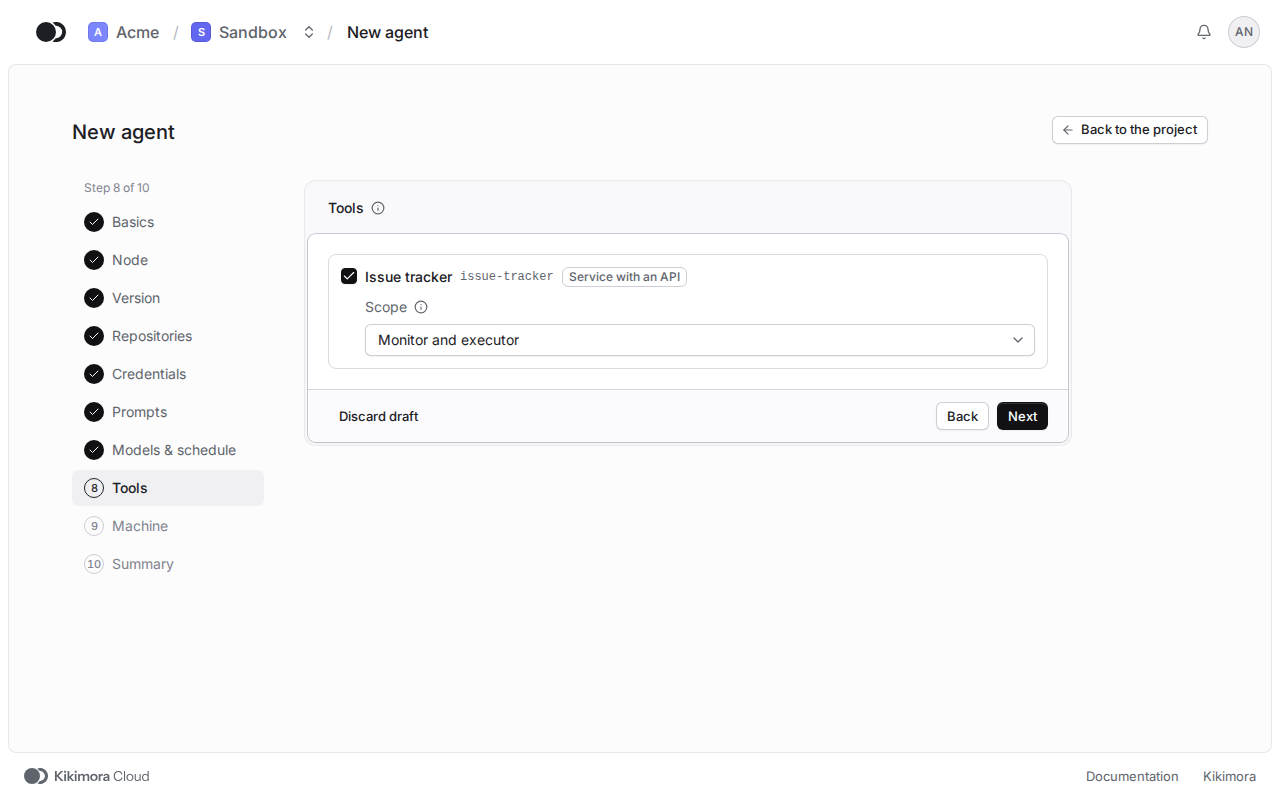
Step 9: Tools
Give the agent tools of the project when it needs them, or go on.
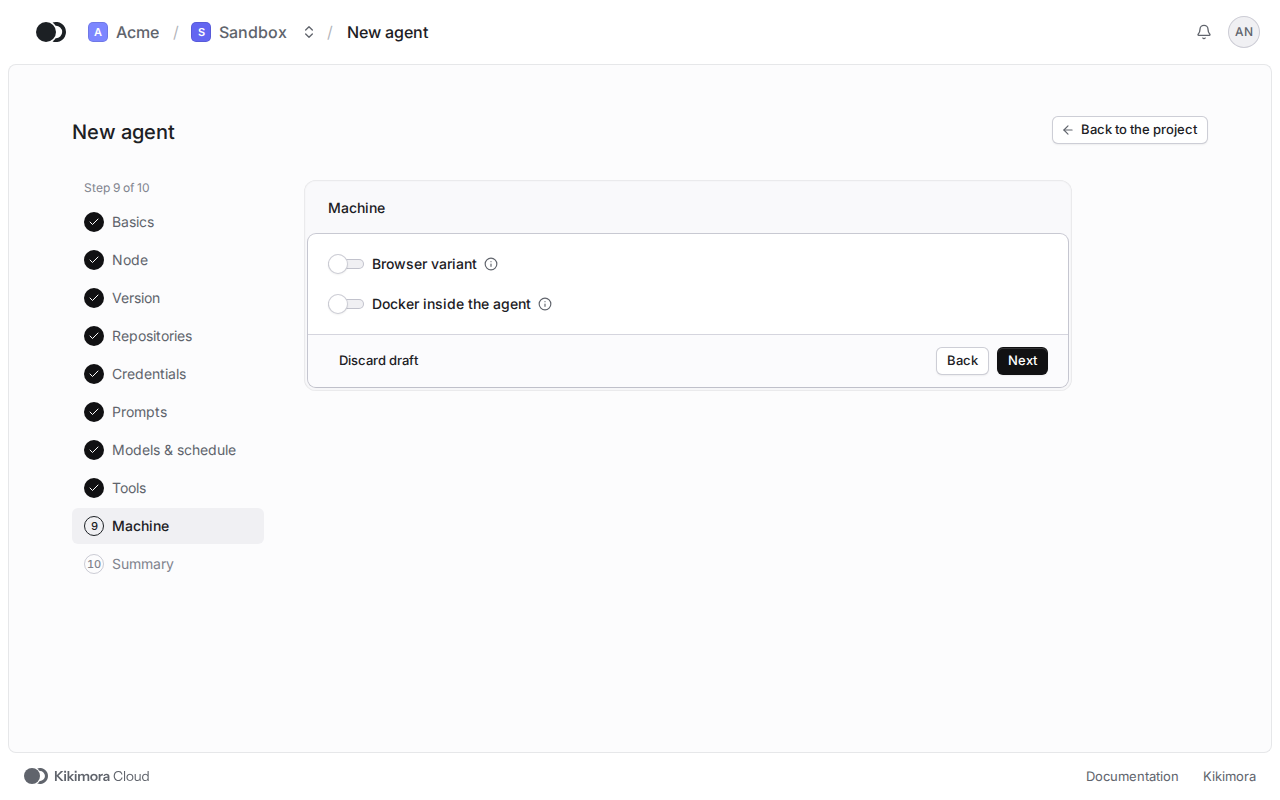
Step 10: Machine
Turn on the browser or Docker only when the agent needs them.
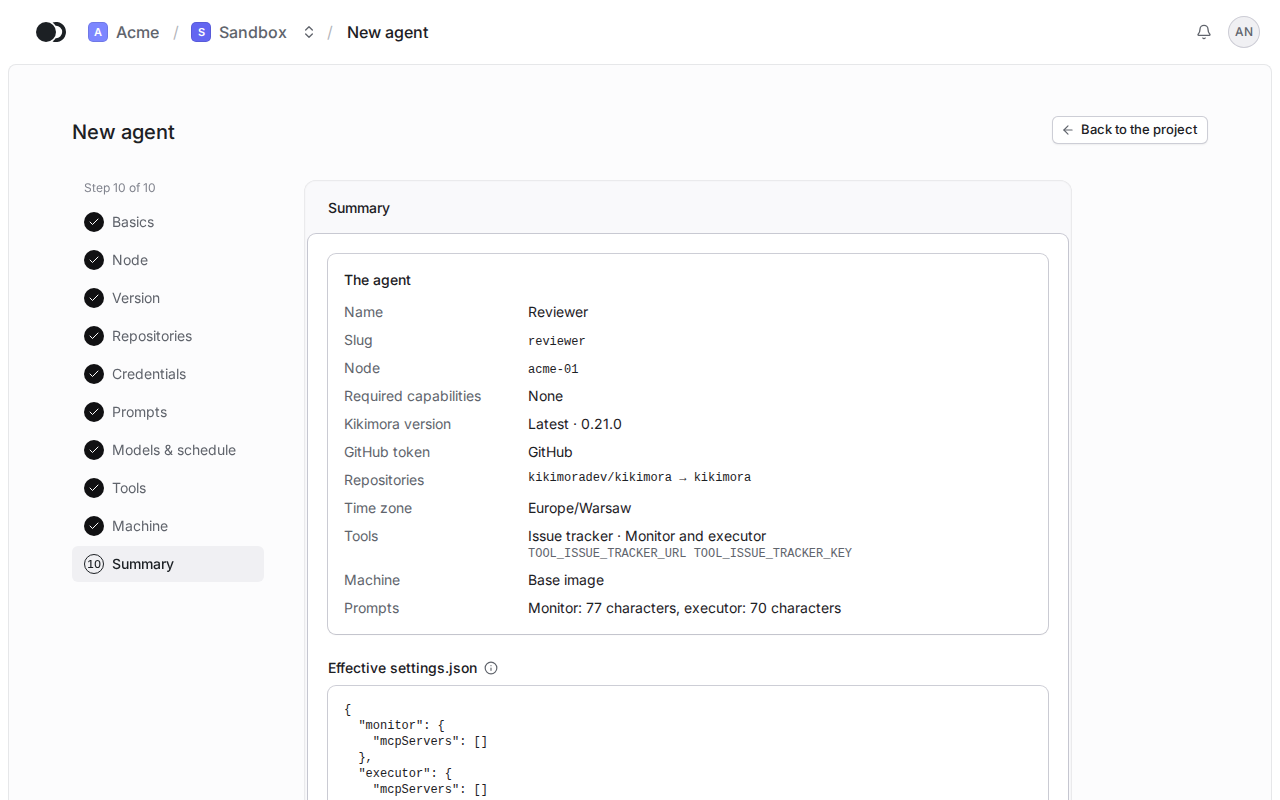
Step 11: Summary
Check the summary and click Create agent.
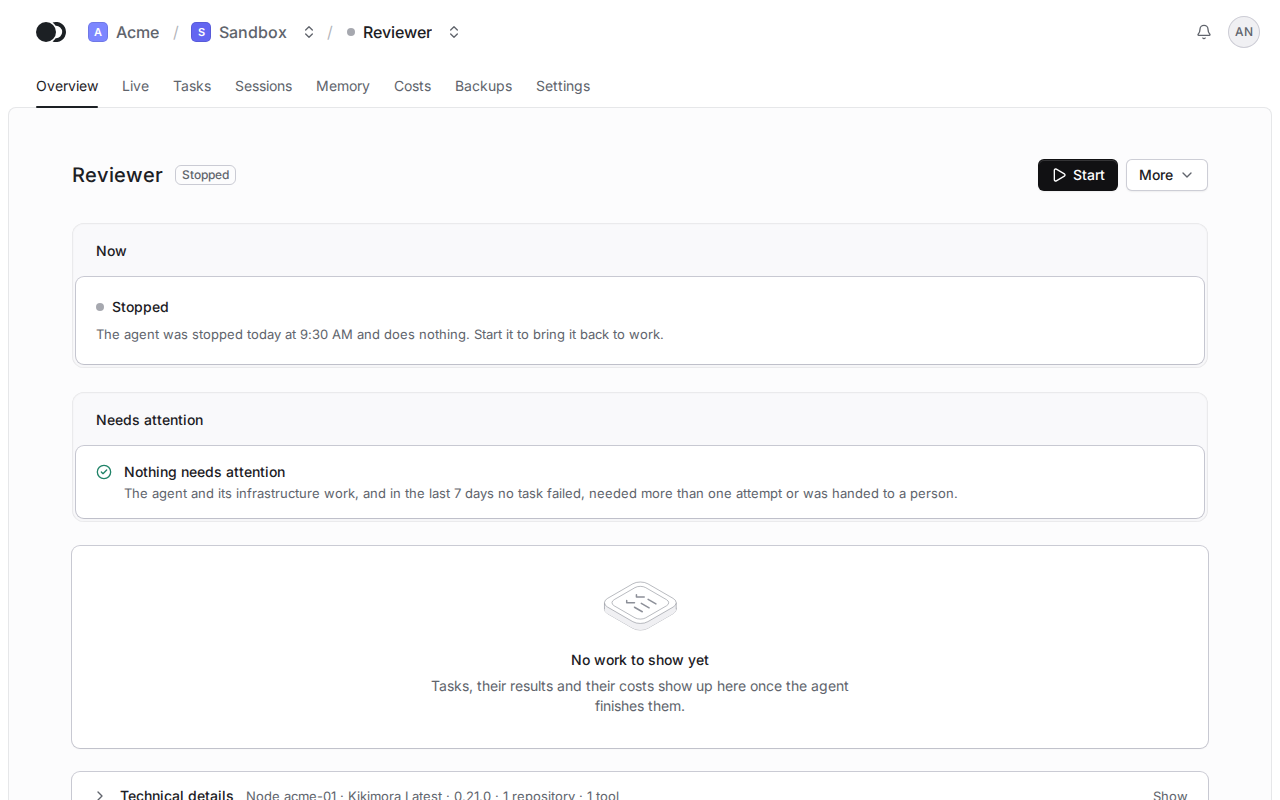
Step 12: The agent is ready
The panel opens the overview of the agent. Click Start, and once its state reads Running, the agent begins its first cycle.
Matches the panel at cloud.kikimora.dev.