PanelProject
Project settings
A project admin changes the settings. A member of the project sees only the Claude account queue on this tab.
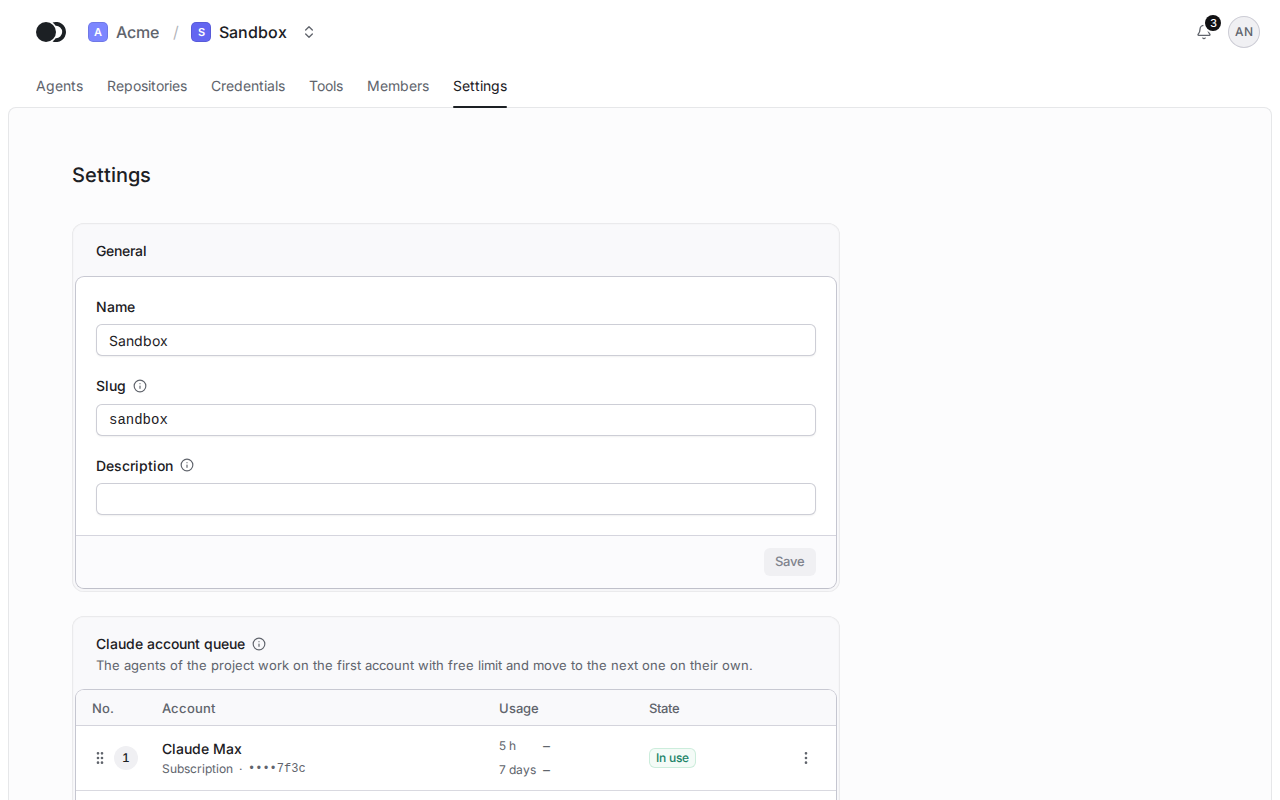
Step 1: Name and description
In the project, open the Settings tab. In the General section, change the name, the slug or the description of the project and click Save.
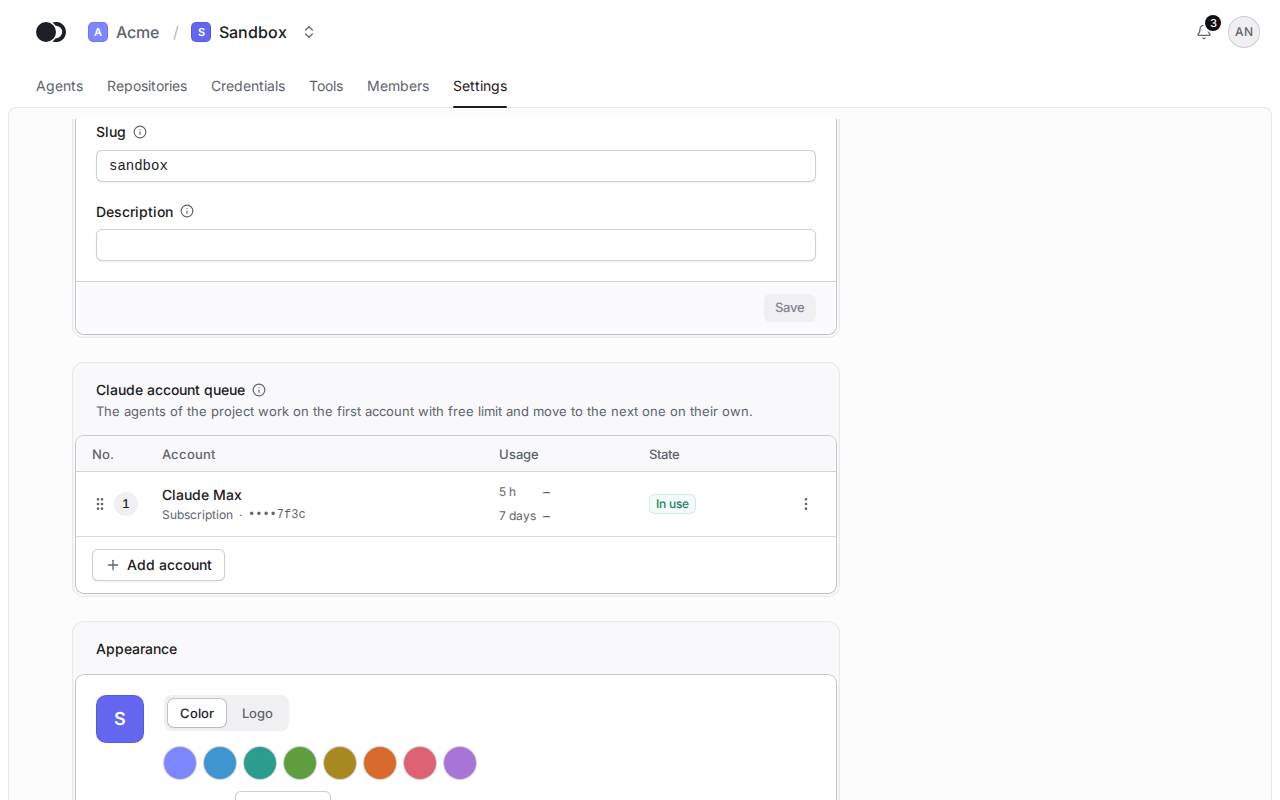
Step 2: Claude account queue
The agents of the project work on the first account with free limit and move to the next one on their own. Click Add account to put an account of the organization in the queue, and change the order by dragging a row by its handle.
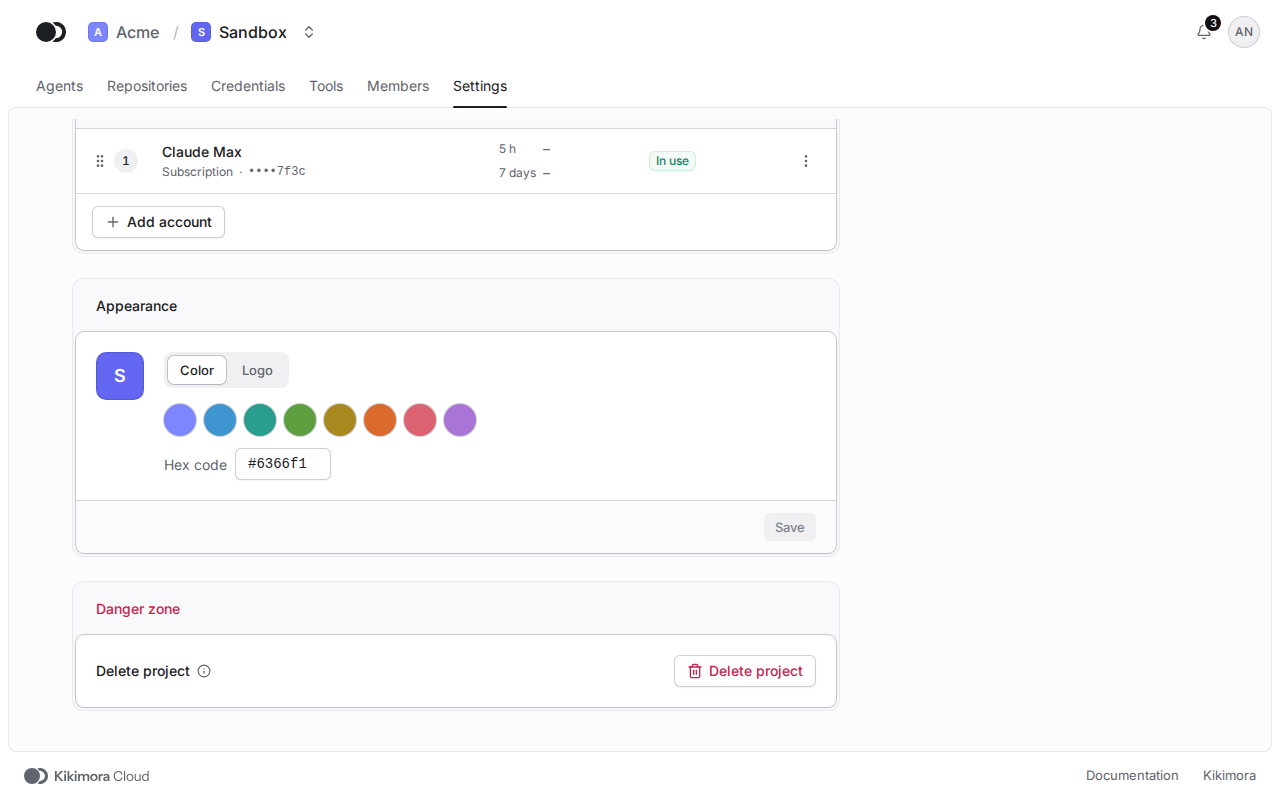
Step 3: Appearance
In the Appearance section, pick the color or the logo that marks the project in the menu and on the lists.
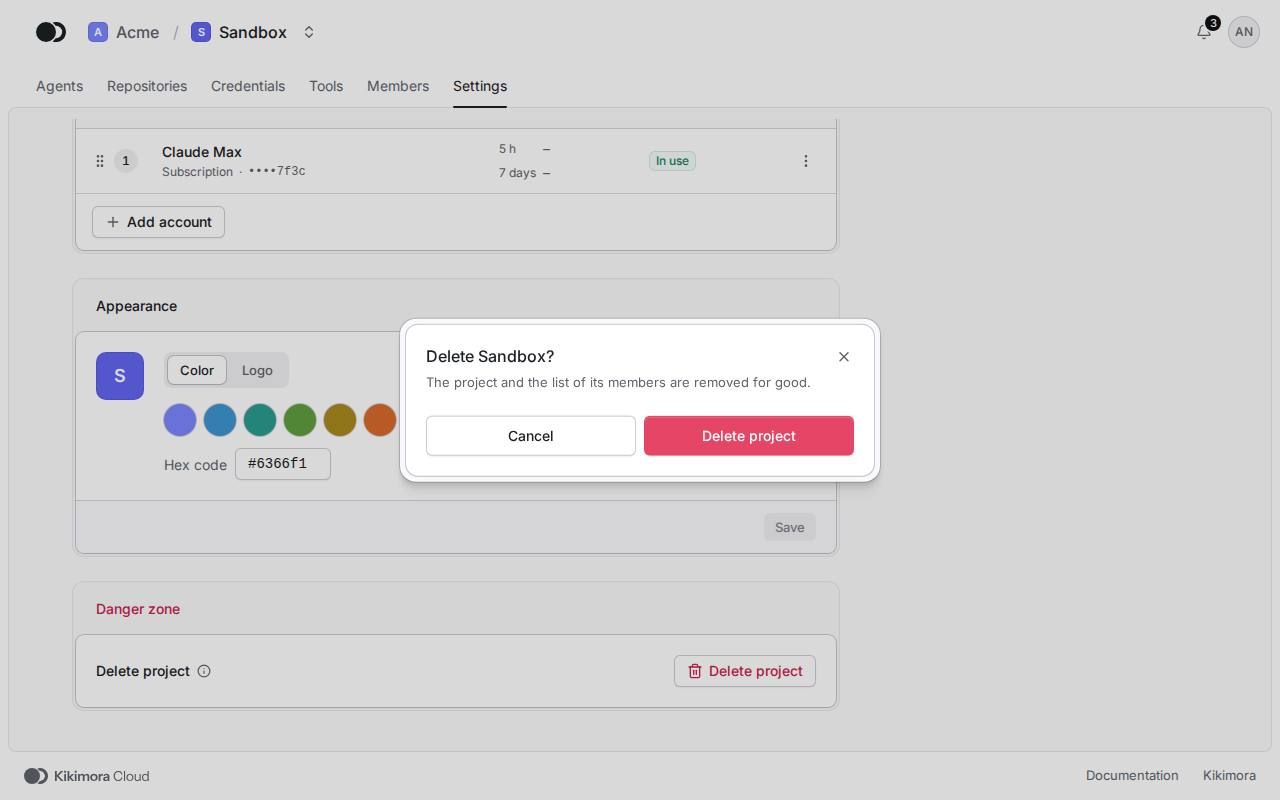
Step 4: Delete the project
Only an organization admin sees the Danger zone. Click Delete project and confirm in the dialog. A project can be deleted once it holds no agents, credentials, repositories or tools.
Matches the panel at cloud.kikimora.dev.