PanelOrganization
Nodes
A node is a machine the agents of the organization run on. It can be a droplet on a DigitalOcean account of the organization, or a host of your own: Linux with Docker or a Windows PC.
Step 1: Open Nodes
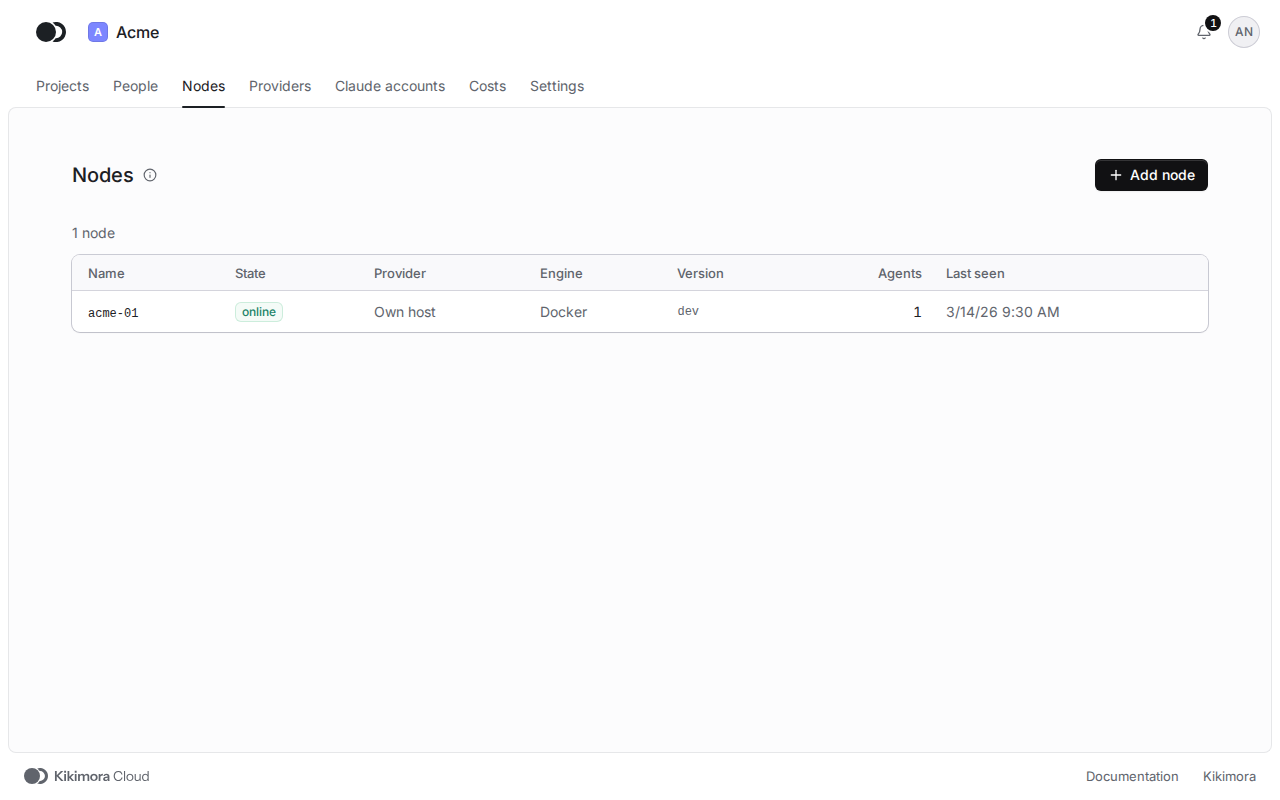
Click Nodes in the header of the organization. The table shows the State of each node, its Provider, the number of Agents and when it was last seen. Every agent is placed on a node when it is created and stays on it. Click the name of a node to open its page.
Step 2: Choose where the node runs
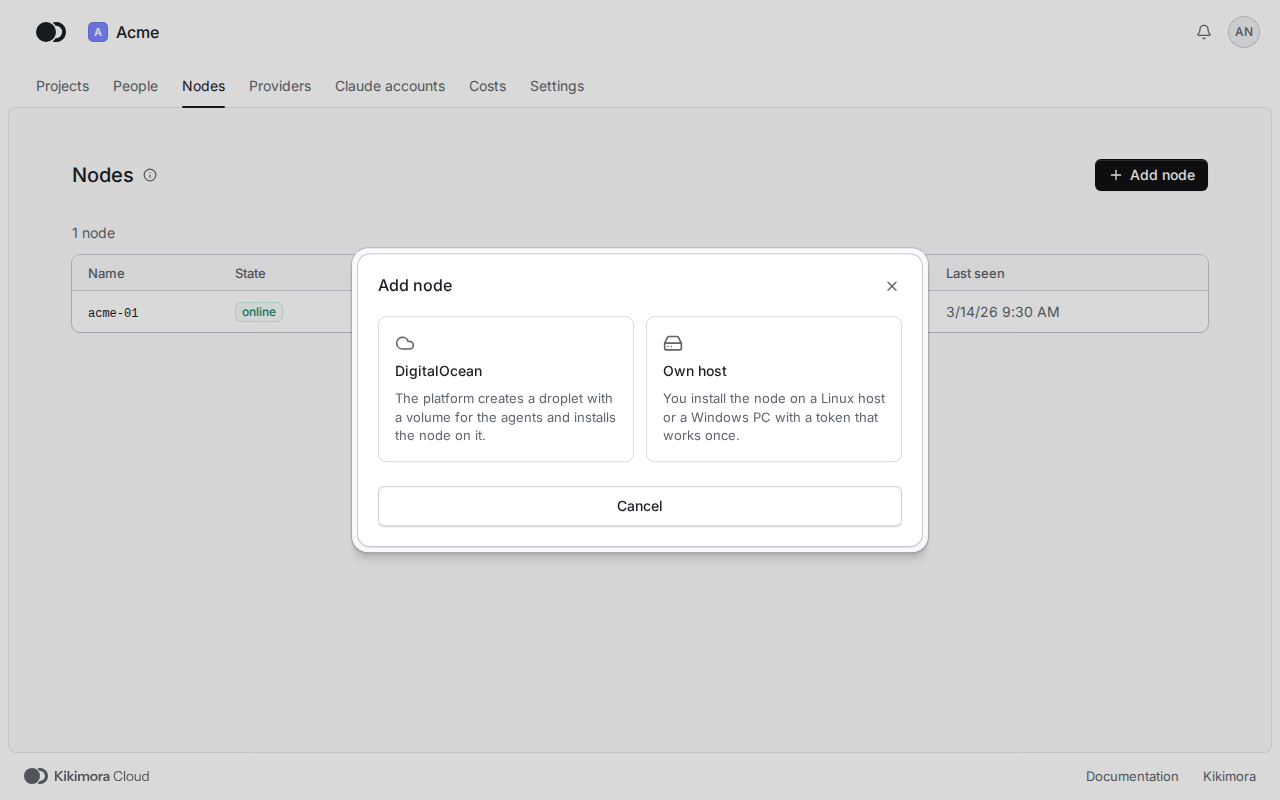
Click Add node and pick DigitalOcean or Own host. DigitalOcean needs a provider account of the organization, which you add on the Providers tab.
Step 3: A node on DigitalOcean
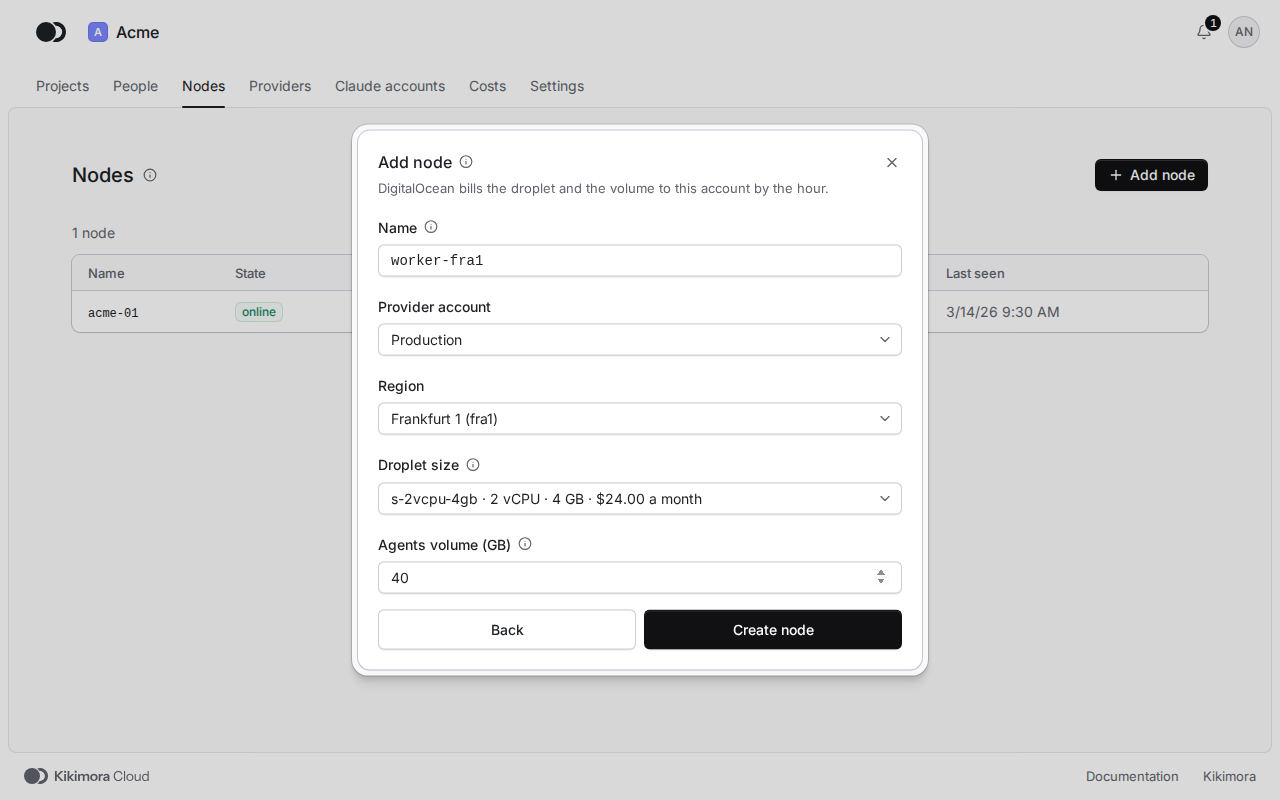
Type the Name, pick the Provider account, the Region and the Droplet size (at least 2 GB of memory), and set the Agents volume in GB. Click Create node. The platform creates the droplet, its volume and its firewall, then installs the node. This takes a few minutes, and DigitalOcean bills the provider account.
Step 4: A node on a host of your own
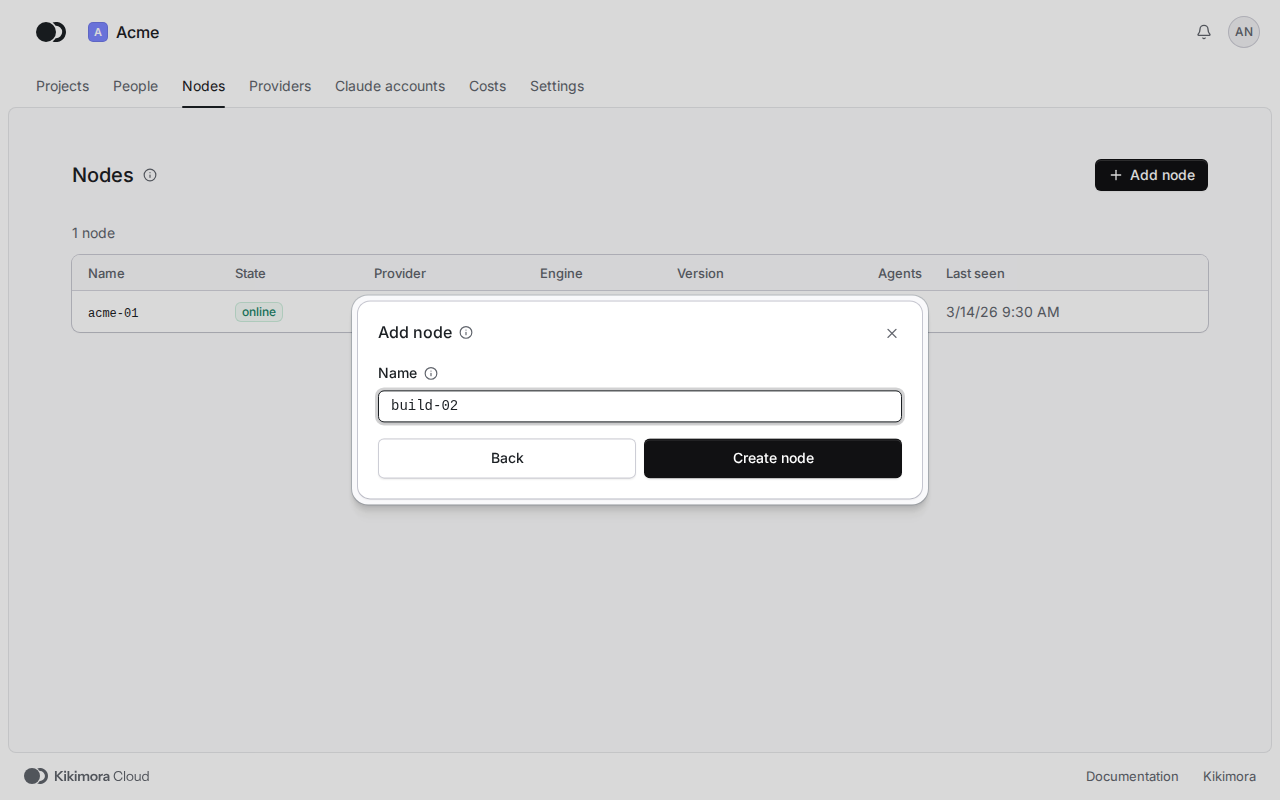
Pick Own host, type the Name, such as build-02, and click Create node.
Step 5: Install the node
The panel shows the Registration token and the commands of the installer. The token is shown once only and works for one registration. Pick the Operating system, copy the commands and run them on the host: on Linux as a user with sudo, on Windows in PowerShell as administrator. The node joins the organization once its service connects.
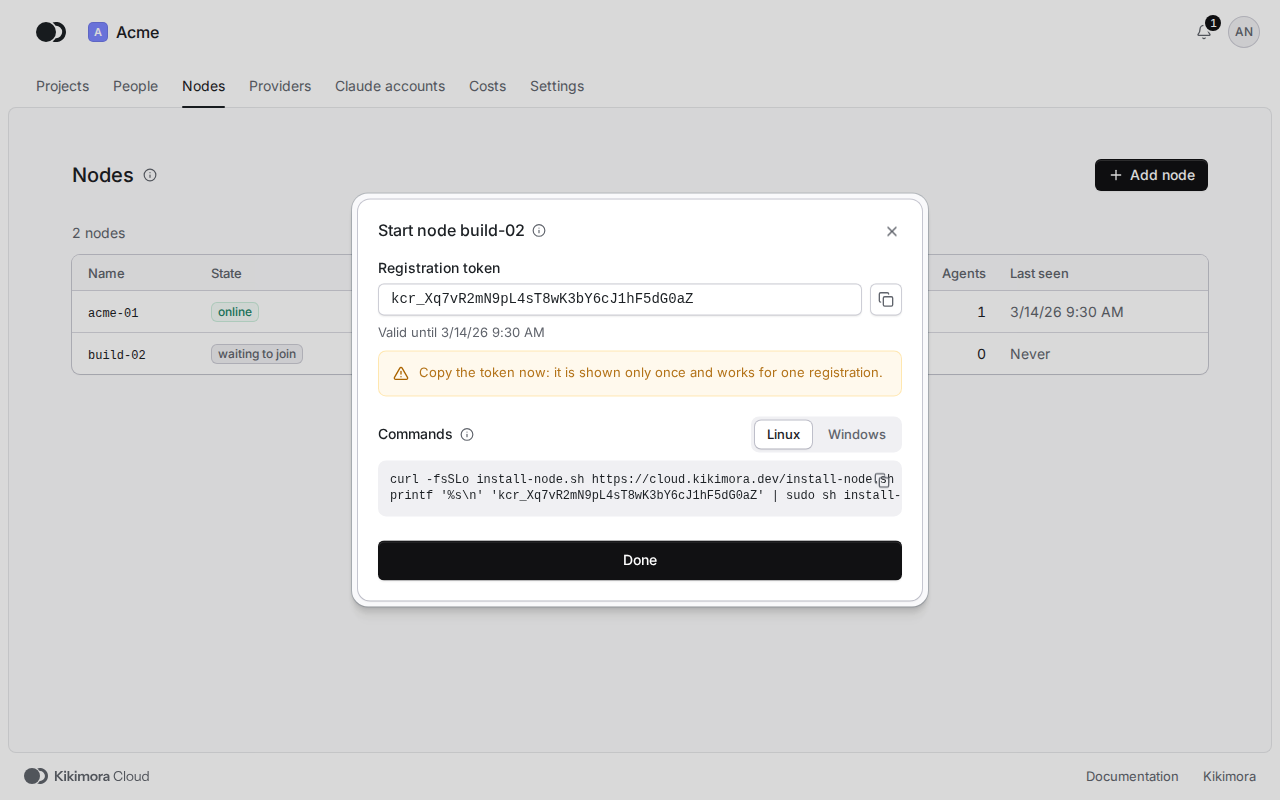
Until the node joins, its state is waiting to join. When the token expired or got lost, click New registration token on the page of the node.
Matches the panel at cloud.kikimora.dev.